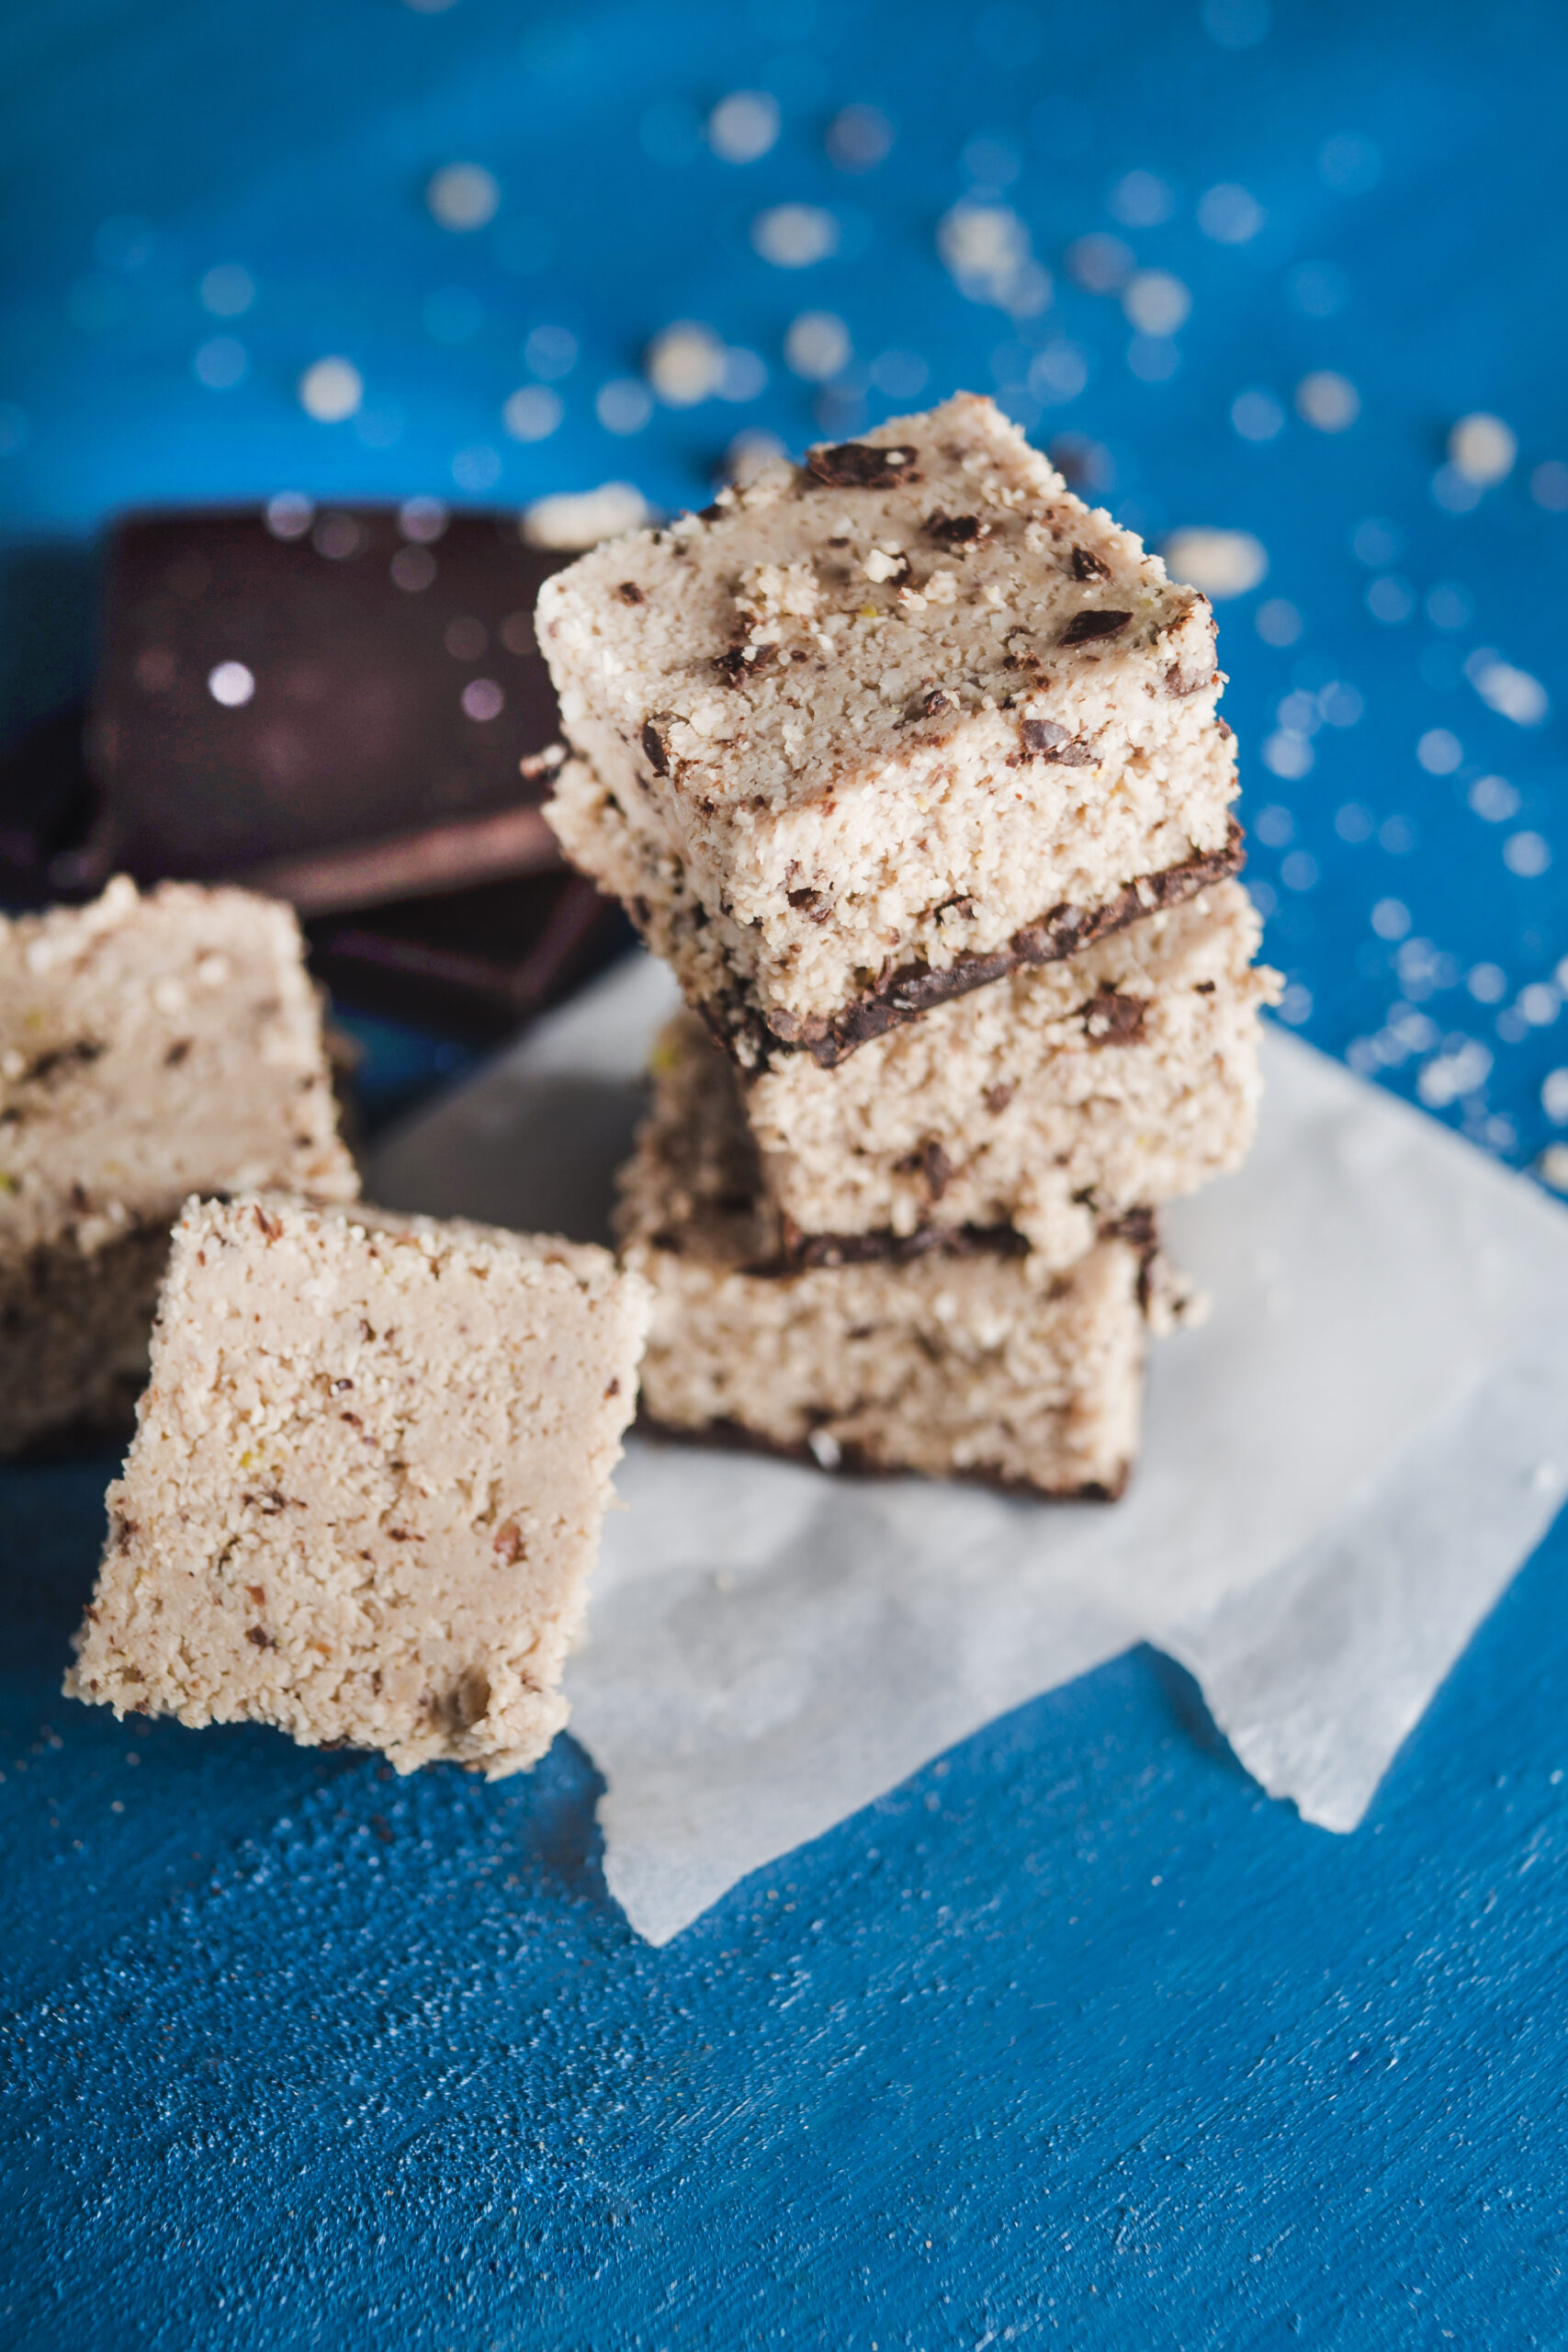
For those who love desserts but need to adhere to a gluten-free lifestyle, gluten-free layer bars are a game-changer. These delightful treats offer a perfect harmony of textures and flavors, combining crunch, gooeyness, and richness in every bite. Whether you’re baking for a party, a family gathering, or just to satisfy a sweet craving, these bars are guaranteed to impress.
What Makes Layer Bars Special?
Layer bars are a unique dessert that lives up to their name: they’re made by layering different ingredients to create a symphony of tastes and textures. Typically, these bars feature a crust, a creamy or gooey middle layer, and a topping that adds a satisfying crunch. The best part? You can customize the layers to suit your preferences, making them endlessly versatile.
Gluten-Free Baking Essentials
Baking gluten-free doesn’t have to be complicated. With the right ingredients, you can achieve the same delicious results as traditional recipes. For gluten-free layer bars, ensure you use:
- Gluten-Free Flour: Look for all-purpose gluten-free flour blends that include xanthan gum for structure.
- Gluten-Free Oats: Certified gluten-free oats are a fantastic addition to the crust or topping.
- Non-Cross-Contaminated Ingredients: Always check labels to ensure other ingredients, like chocolate chips or nuts, are gluten-free.
Recipe: Amazing Gluten-Free Layer Bars
This recipe is simple to follow and uses easily available ingredients.
Ingredients:
- For the Crust:
- 1 cup gluten-free graham cracker crumbs
- 4 tablespoons melted unsalted butter
- 2 tablespoons coconut sugar
- For the Layers:
- ½ cup shredded coconut (unsweetened or sweetened, based on preference)
- ½ cup gluten-free rolled oats
- ½ cup chopped nuts (walnuts or pecans work great)
- ½ cup chocolate chips (dark or semi-sweet)
- ½ cup white chocolate chips
- ½ cup caramel sauce (check for gluten-free certification)
- 1 can (14 oz) sweetened condensed milk
Instructions:
- Preheat and Prepare: Preheat your oven to 350°F (175°C). Line a 9×9-inch baking pan with parchment paper, leaving overhangs for easy removal.
- Make the Crust: Combine the gluten-free graham cracker crumbs, melted butter, and coconut sugar in a bowl. Mix until it resembles wet sand. Press the mixture evenly into the prepared pan to form a crust.
- Add the Layers: Evenly sprinkle the shredded coconut, oats, nuts, chocolate chips, and white chocolate chips over the crust. Drizzle the caramel sauce on top.
- Top with Condensed Milk: Pour the sweetened condensed milk evenly over the entire pan, ensuring it seeps into the layers.
- Bake: Place the pan in the oven and bake for 25-30 minutes, or until the edges are golden and the center is bubbling.
- Cool and Slice: Let the bars cool completely in the pan before slicing. For clean cuts, refrigerate for at least an hour before slicing into squares or rectangles.
Customization Tips
- Add a Twist: Swap out chocolate chips for butterscotch or peanut butter chips.
- Go Nut-Free: Replace nuts with seeds like sunflower or pumpkin seeds for a nut-free option.
- Spice It Up: Add a pinch of cinnamon or nutmeg to the crust for a warm flavor profile.
Why You’ll Love These Bars
These gluten-free layer bars are:
- Indulgent: Packed with rich and creamy flavors.
- Texturally Perfect: A delightful combination of crunchy, gooey, and chewy.
- Easy to Make: Perfect for beginners and seasoned bakers alike.
- Crowd-Pleasing: A hit with both gluten-free and non-gluten-free eaters.
Conclusion
Gluten-free baking can be just as indulgent and satisfying as traditional baking. These amazing gluten-free layer bars are proof that dietary restrictions don’t mean sacrificing flavor. With simple ingredients and an easy process, this dessert is one you’ll make again and again. Whether it’s for a special occasion or a weekday treat, these bars are bound to become a household favorite.
So grab your apron and give these gluten-free layer bars a try. Your taste buds will thank you!

